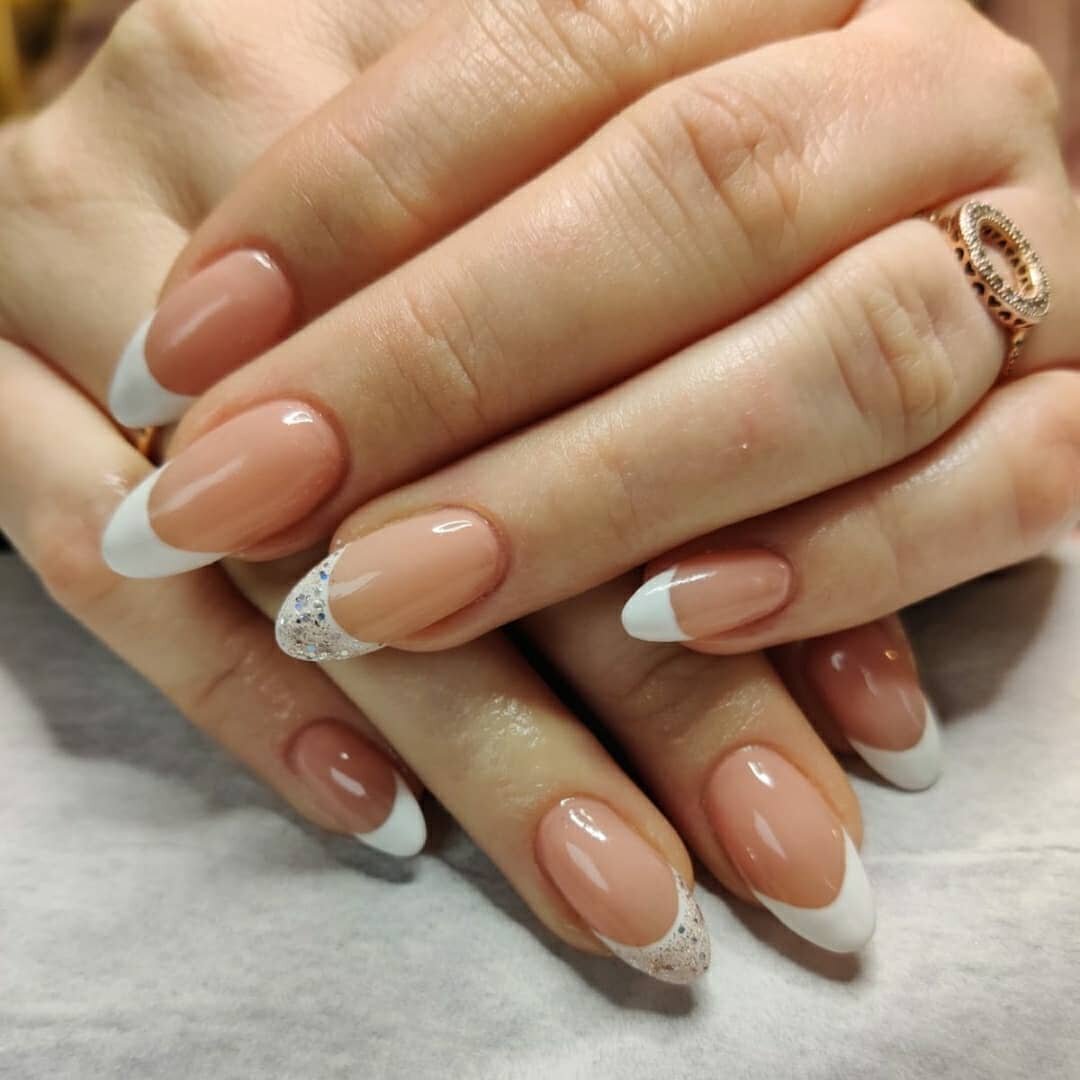
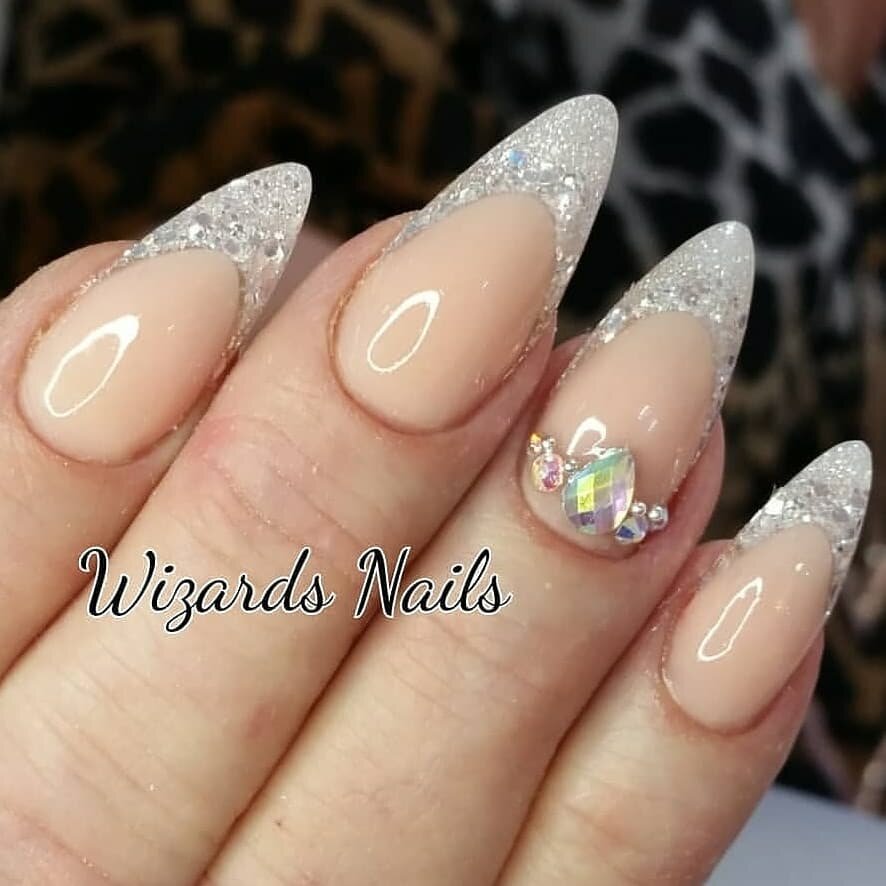
French Manicure…. Outdated or here to Stay??
Classic French by Team Beautorium
The French manicure is a timeless nail design that has lasted throughout the ages. Developed in the 20’s, this “go to” nail design is perfect for any event and suits pretty much any tastes with safe and adventurous adaptations developed over the years.
The French manicure as the name suggests originated in 18th century Paris and was extremely popular in the 1920’s and 1930’s due to its natural and subtle appearance. Dying off in the following decades due to more daring fashion looks, the French Manicure experienced a revival in Hollywood during the 70’s when the creator of Orly nail products, Jeff Pink, revived this nail look to fill the niche for Hollywood actresses that repeatedly had to change outfits – therefore nails – for their movie shoots. Pink wanted to create a universal look for his clients that would suit all outfit changes thus saving actresses valuable time getting nails repainted and therefore rekindled the popularity of the classic French manicure.
Recent years some fashionistas have stated that the French polish is “last decade” with more and more opting for coloured nails, but is the French about to make a comeback? with its versatile and classic look, and countless adaptations, I can’t see it going anywhere soon. Recent looks like the “faded French”
“babyboomers” “reverse French” and “lace effect” see it sneaking back to the fore and with adaptations to the look with feature nails, nail art and stampers it can give the French a more quirky look and more variety for its clients.
Regardless, it remains the constant “go to” for bridal nails and for occupations that do not allow coloured polish, the French gives that natural no polish look.
So how do you do the perfect French Manicure?
French manicures are designed to reflect the natural nail and give a clean healthy look. therefore it is very important to get a precise “smileline” when doing a French polish. Despite its simplistic look, the perfect French is far from easy to achieve, memories of clients asking for the dreaded French when I was freshly from college still haunt me!! but back then all we had to work with was regular nail polish which was a lot less forgiving .
Gone are the days when a whole nail needed to be repainted due to a sneezing client or accidental smudges!! With the amazing 2 week polish products, this has made creating the perfect French even easier! The smileline can be perfected before going into the lamp and any accidents tidied! personal favourites is my trusty gel brush (one for fixing the smileline only) dipped in gel wipe off and carefully wiping under the smileline for a smooth even curve
For those wishing to use regular polish, the trick with the French manicure is practise and a good polish. A gloopy polish will lead to a messy French, having the opposite effect to what a classy, natural French should be. In my opinion, for the white, the freehand technique, once mastered, is by far the more professional and better option with regular polish, however for home use French polish curved stencils are very useful. The trick is to make sure the polish is dry before removing them or else you ruin your overall look!!
The order of the polishes really depends on the overall look you wish to achieve, pink/beige first then white if you are looking for the whiter than white effect and white before colour if you want a more natural “I have no polish on” effect.
Whatever polish you use, or technique you try the French manicure is definitely a technique to master and is here to stay!


